.png)

.svg)
Understanding Interior Trim Repair
Trim is the finishing woodwork around doors, windows, floors, and ceilings that gives your home a polished, cohesive look. Interior trim like baseboards, door and window casings, crown molding, and shoe molding protects walls and corners from everyday wear and tear.
It's often the first thing to show wear from everyday use, furniture movements, pet, and moisture. Interior trim repair is important because it restores both function and appearance, preventing minor scratches, dents, or gaps from becoming bigger issues. Regular trim repair keeps your home looking sharp, maintains structural integrity, and extends the life of your interior trim.
.png)
Recognizing Cosmetic vs. Structural Damage
Understanding the difference between cosmetic and structural damage is essential for doing trim repair the right way. Scratches, dents, and small gaps may only affect appearance, while rot, moisture damage, or loose trim can signal deeper problems.
We break down how to tell the difference so you can choose the right home trim repair approach and avoid wasting time on fixes that won’t last.
Cosmetic Damage
- Small scratches, dents, and nail holes
- Minor gaps between trim and walls or floors
- Paint peeling or discoloration without underlying damage
These issues primarily affect appearance and can often be repaired with fillers, sanding, and repainting.
Structural Damage
- Soft, spongy, or crumbling wood indicating rot
- Warping, swelling, or large cracks
- Mold or mildew presence
- Trim pulling away due to loose nails, warping, or underlying moisture issues
Structural damage compromises the trim’s protective function and may allow moisture or pests to enter your home. Such damage requires thorough repair or replacement.
How to Prep Before Repair
Proper preparation is crucial to achieving a successful house trim repair. Homeowners often skip this important step, which can lead to poor results and the need for rework. Follow these essential prep steps to ensure your repair lasts and looks professional:
- Clean the trim thoroughly to remove dust, dirt, and grime. Use a damp cloth or mild cleaner and allow the surface to dry completely before proceeding.
- Remove any peeling paint, loose filler, or flaking material. Use a putty knife or scraper to gently lift away debris, creating a solid surface for new filler or paint to adhere to.
- Protect surrounding floors, walls, and furniture by applying painter’s tape along the edges of the trim. This will help prevent accidental paint splatters or damage during sanding and filling.
- Check the trim for moisture or soft spots by pressing gently with a screwdriver or your finger. Soft or spongy areas may indicate rot or water damage, which require more extensive repair or replacement rather than simple cosmetic fixes.
Taking the time to properly prepare your trim before repair will improve adhesion, create a smoother finish, and extend the life of your repair work.
Essential Tools and Materials for Interior Trim Repair
Before starting your trim repair project, gather these tools and materials:
- Wood filler or acrylic putty (choose based on whether trim is painted or stained)
- Two-part epoxy filler for deep gouges or missing sections
- Putty knife and sponge-core sanding block
- Paintable acrylic latex caulk
- Primer and paint matching your trim’s finish
- Measuring tape and miter saw (for cutting replacement trim)
- Painter’s tape and cleaning supplies
Step-by-Step Interior Trim Repair Guide
.jpg)
How to Repair Baseboard Trim
Baseboards often suffer from dents, nail holes, and minor chips. Here’s how to repair them:
- Clean the damaged area thoroughly to remove dust and dirt.
- Apply wood filler or acrylic putty with a putty knife, slightly overfilling holes or dents.
- Allow the filler to dry completely, typically 30–60 minutes.
- Sand the area smooth using a sponge-core sanding block to maintain the trim’s profile.
- Prime the repaired area to ensure paint adhesion.
Paint to blend the repair with the surrounding trim.
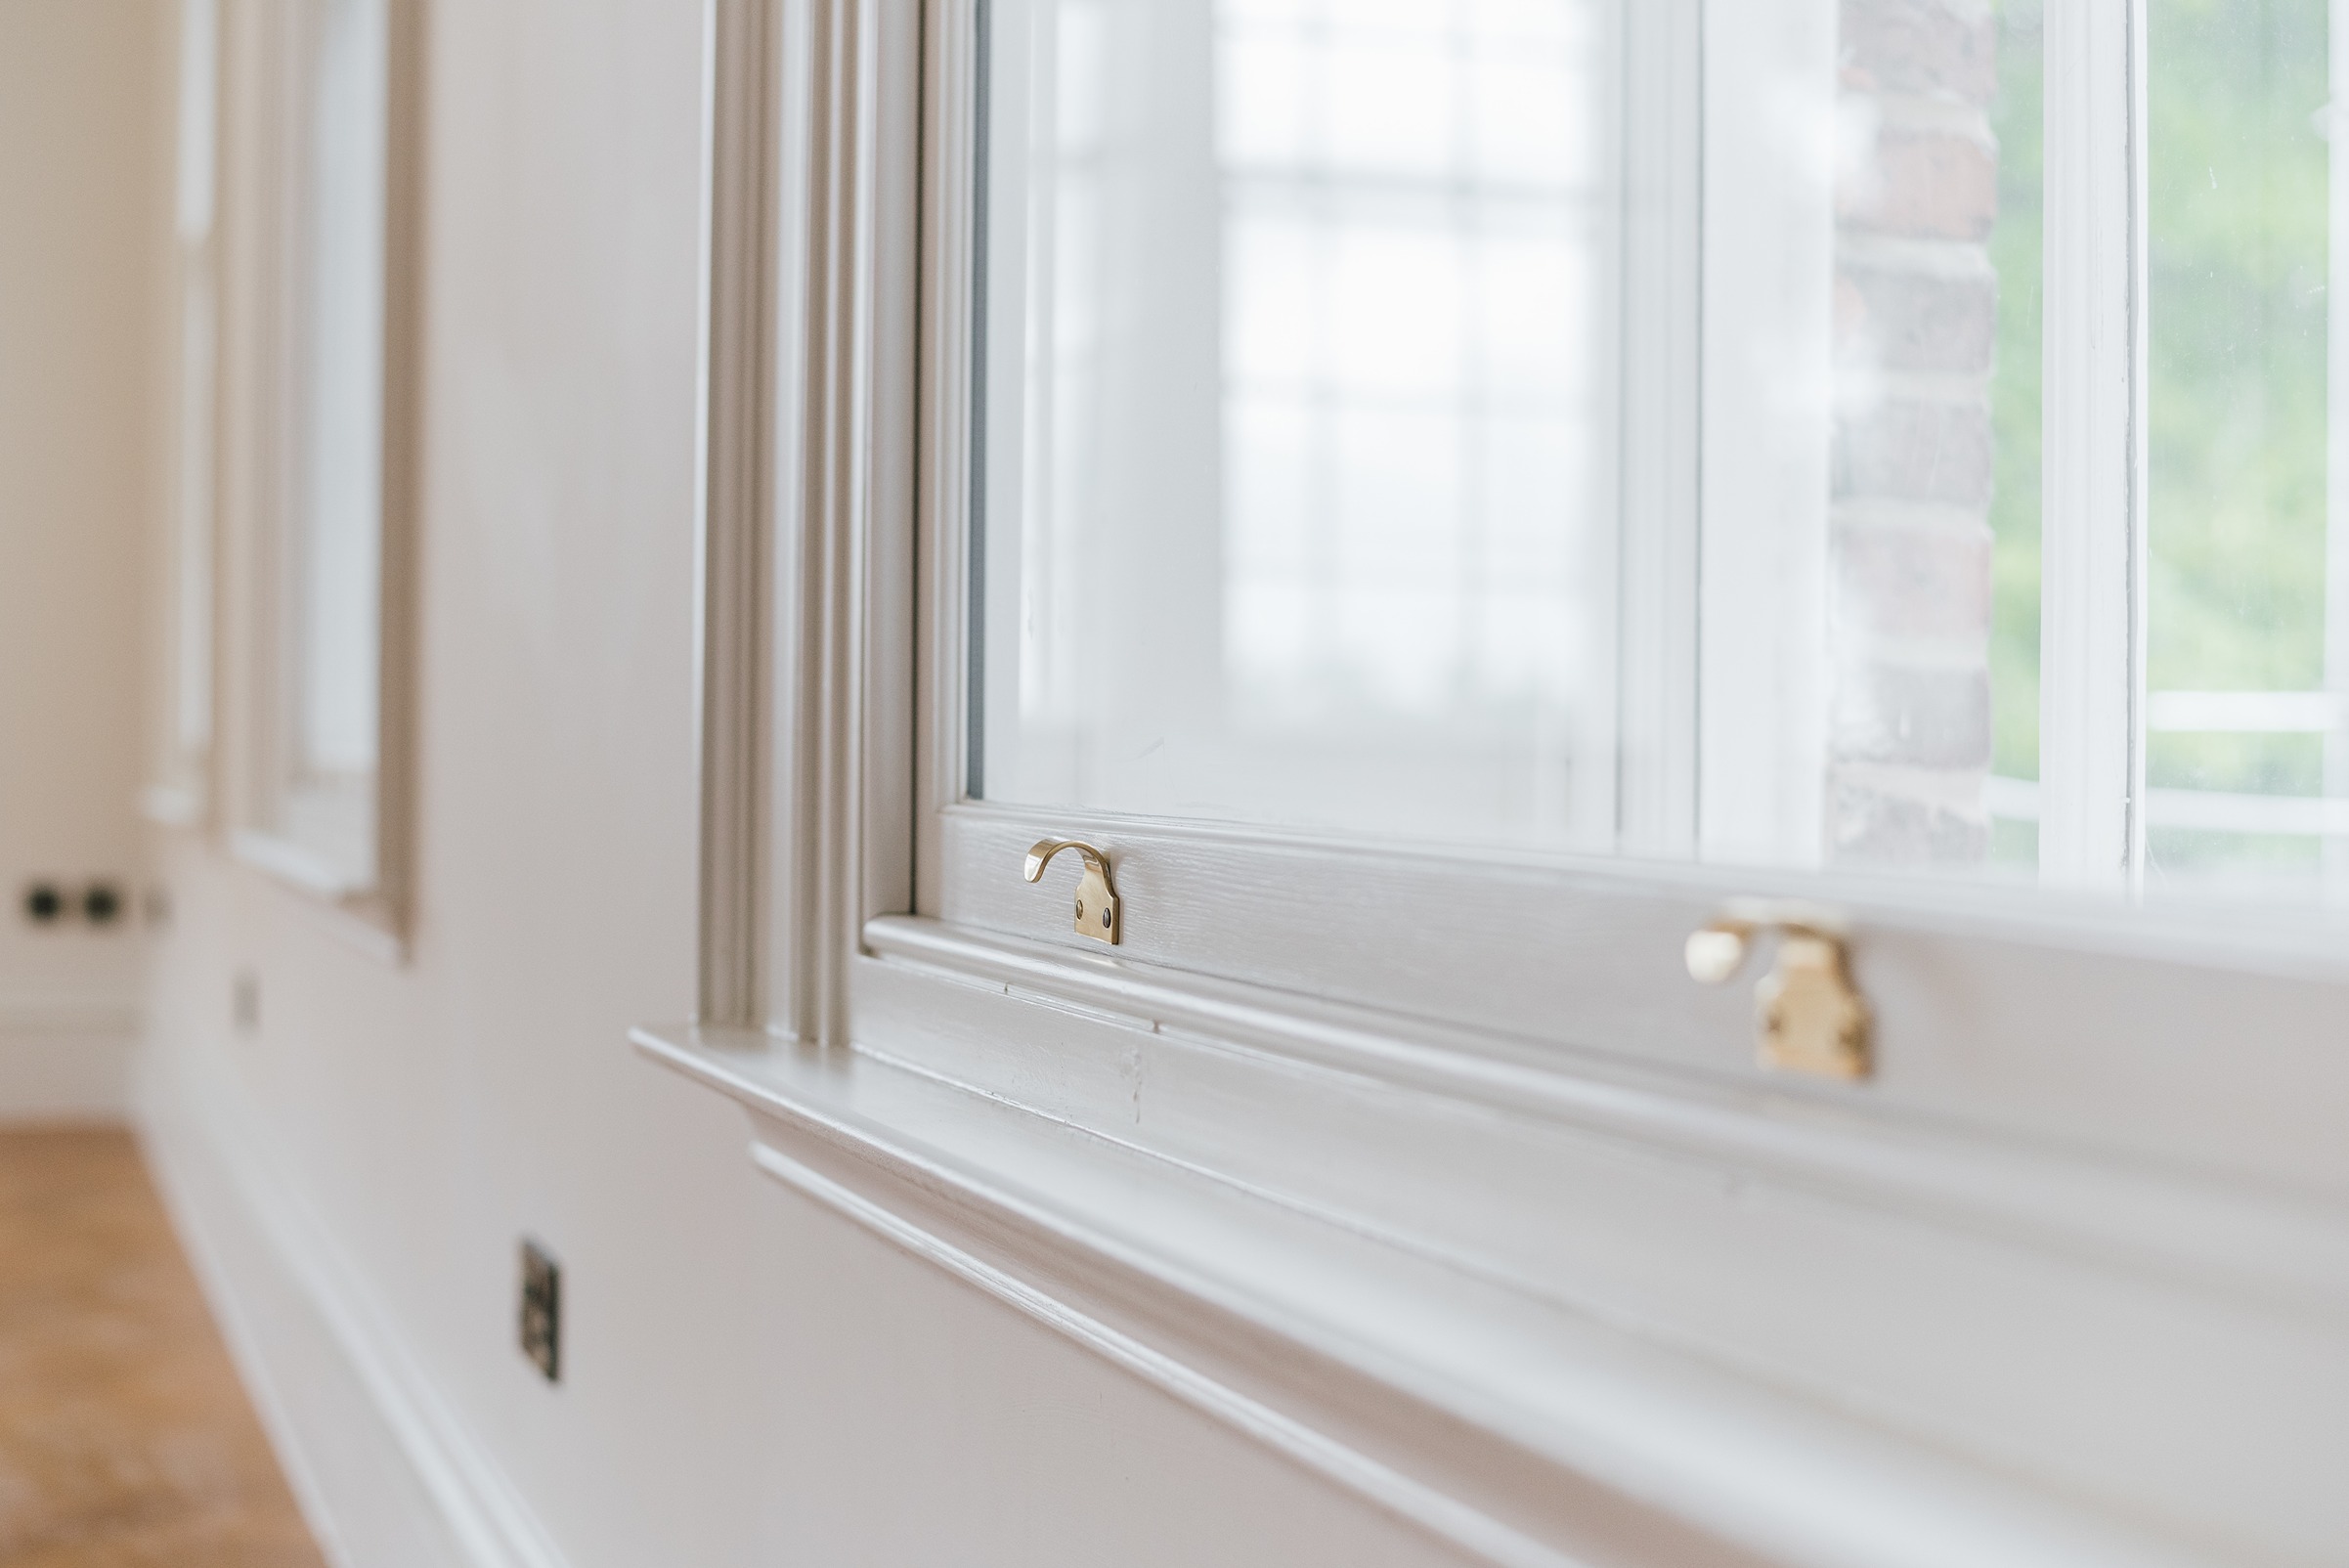
How to Repair Window Trim
Window trim repair often involve fixing cracks, dents, or gaps:
- Use wood filler or putty for small cracks and dents.
- Fill gaps between trim and walls with paintable acrylic latex caulk.
- Repair separated or cracked miter joints by applying wood glue, clamping, and filling gaps with caulk.
- For larger damage, measure and cut replacement sections, then install and finish accordingly.
.jpg)
How to Repair Door Trim Molding
Damaged molding requires rebuilding missing or chipped areas. Here's what we tell homeowners when fixing door trim:
- Mix two-part epoxy filler and shape it to replicate the original molding contour.
- Allow the epoxy to cure fully according to manufacturer instructions.
- Sand smooth and prime before painting for a seamless finish.
Tips for a Professional Finish
- Use a sponge-core sanding block to preserve intricate trim details.
- Always prime repaired areas before painting to ensure durability.
- Match paint sheen and color to existing trim for uniformity.
- Use painter’s tape to protect adjacent walls and floors during painting.
- Clean and prep all surfaces thoroughly before starting repairs.
When to Call a Pro for Interior Trim Repair
While many trim repair tasks are DIY-friendly, certain situations call for professional expertise. We help homeowners identify when a repair is safe to tackle and when it’s best to call in a pro.
- Presence of soft or rotted trim indicating structural damage
- Visible mold or mildew on or behind trim
- Trim pulling away from walls or doors due to underlying issues
- Lack of proper tools or experience for precise cuts and fitting
- Desire to preserve historic or intricate trim details
Rot Doctor’s skilled technicians provide comprehensive inspections and expert repairs that safeguard your home’s integrity and appearance.
Maintaining Interior Trim to Prevent Damage
Proper maintenance extends the life of your trim and reduces the need for repairs:
- Control indoor humidity to minimize swelling and warping.
- Address leaks and water intrusion immediately.
- Clean trim regularly to prevent dirt buildup.
- Avoid slamming doors or heavy impacts near trim.
- Inspect trim periodically for early signs of damage like cracks or soft spots.
Protect and Restore Your Home with Expert Interior Trim Repair
Trim repair is essential for maintaining your home’s beauty and structural integrity. Whether you’re tackling how to repair baseboard trim, repair window trim, or repair door trim molding, many fixes can be completed with basic tools and materials from your local hardware store. However, when damage is extensive or involves structural issues, Rot Doctor ensures lastings, high-quality repairs.
At Rot Doctor, we combine experience and attention to detail to restore your interior trim, enhancing your home’s appearance and protecting it from further damage. Timely trim repair not only saves money but also preserves the comfort and value of your home for years to come. Don’t hesitate to reach out to Rot Doctor for expert interior trim repair solutions tailored to your needs.
FAQ
How long does trim repair typically take?
The duration depends on the extent of damage. Small cosmetic repairs like filling nail holes or minor dents can often be completed within a few hours. Larger repairs or replacement of damaged sections may require a full day or more, including drying and curing times for fillers and paint.
Can I do window trim repair or door trim repair myself?
Yes, many cosmetic repairs are suitable for DIY, especially with clear instructions and proper tools. However, for extensive damage or precise molding repairs, it’s wise to seek professional assistance.
What filler should I use for painted interior trim?
Acrylic wood filler or putty is the best choice for painted interior trim because it sands smoothly and creates a surface that paint adheres to effectively. This type of filler prevents cracking and shrinking, ensuring a durable and seamless finish.
Can interior trim repair be done in winter?
Interior trim repair can be done in winter since it takes place indoors, where weather conditions have minimal impact. Proper ventilation is necessary when using paint or fillers to ensure adequate drying and to avoid inhaling harmful fumes.
When is trim replacement necessary?
Trim replacement is necessary when damage is extensive, such as widespread rot, warping, or structural instability that cannot be effectively repaired. Replacing the trim in these cases restores both the appearance and protective function of the trim.
How do I avoid damaging trim during repairs?
To avoid damaging trim during repairs, use appropriate tools and work carefully to preserve decorative details. Preparing surfaces properly and avoiding over-sanding helps maintain the trim’s profile and prevents accidental damage.

.svg%20fill.svg)