
.png)


.svg)
This guide focuses on finding and diagnosing hidden siding rot before you commit to a repair plan. If you've already confirmed the damage and are deciding between patching and full replacement, see our siding rot repair vs. replace guide for that decision framework.
Most homeowners find dry rot by accident. A loose board, a paint bubble, or a soft spot near a downspout is usually the first clue, and it is rarely the whole story. Dry rot siding repair almost always turns out bigger once the wall is actually opened, because the damage you can see is only the part that happened to reach the surface first. If you searched for how to fix dry rot siding after finding a spot like this, this guide walks through where water gets in, how a proper inspection finds the rest of it without demolishing your exterior, and why a quick patch job so often fails within a year or two. The same steps apply whether you plan to hire it out or figure out how to repair rotted wood siding yourself. Rot Doctor has handled enough of these jobs across the Bellevue community to know the pattern by now.
Why Does Siding Rot Always Seem Worse Once the Wall Opens Up?
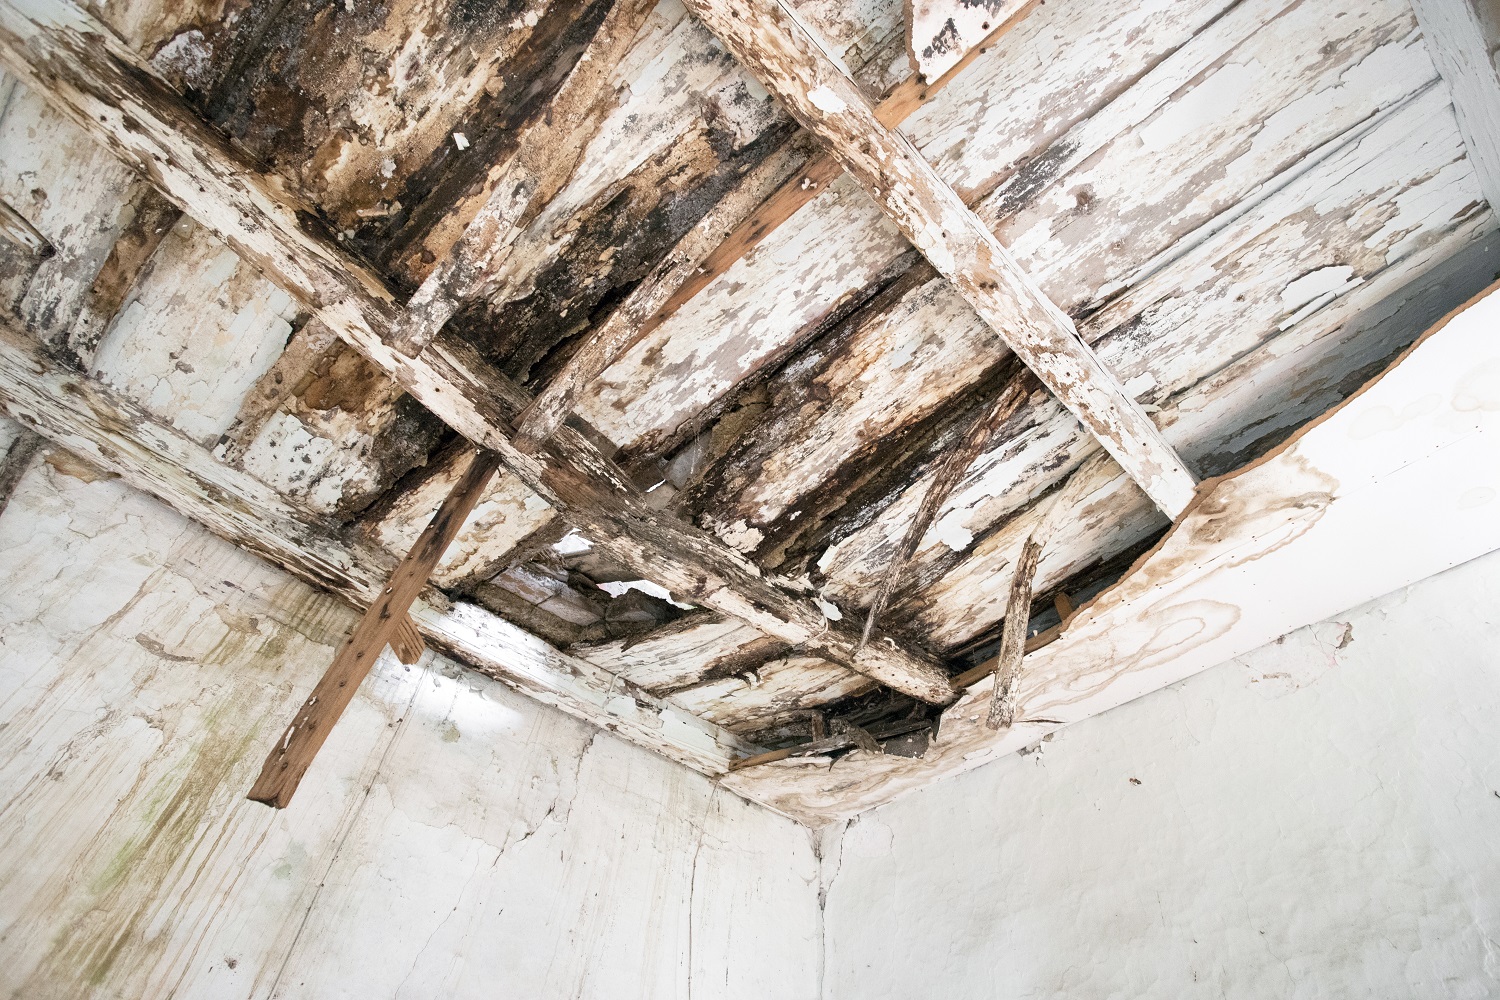
Wood siding is porous, which means it absorbs and holds moisture instead of shedding it the way some other materials do. Once water gets past the outer surface, it has nowhere to go and nothing stopping it from spreading sideways along a board or down into the framing.
Fungi are the actual cause of the damage, not the moisture itself. Wood decay fungi need damp, oxygen-rich wood to grow, and rain, snow, and humidity in the Pacific Northwest supply exactly that for most of the year. By the time discoloration or a soft spot appears on the outside, the fungi have often been active for months.
So why does the damage feel like a surprise every time? Because the visible sign is usually the last part of the board to fail, not the first. Many people do not realize how far rot has spread until the wall actually opens up. Products marketed for siding with moisture and rot damage protection can slow future damage once a repair is done, but they cannot undo decay that has already reached the framing. Beyond the structural risk, untreated rot also chips away at a home's appearance long before it becomes dangerous.
💡 Pro Tip: If a board feels soft in one spot, check the full length of it and the boards directly next to it. Rot rarely stays confined to a single point.
Five Places Where Water Sneaks Behind Your Siding
Water tends to find the same weak points on almost every house, which is why the same failures show up repeatedly.
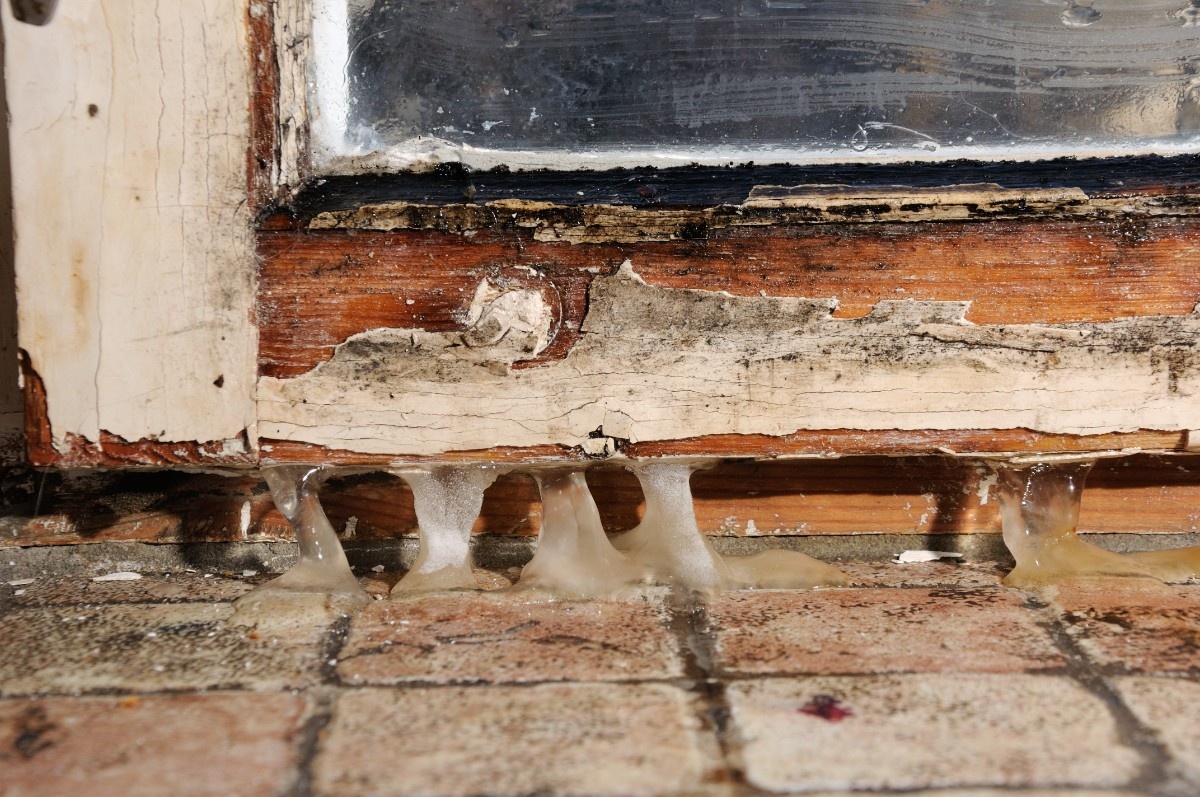
- Failed caulk around windows. Once caulk shrinks or cracks, rain works its way behind the trim, which is a leading cause of siding leaking around window openings.
- Improper flashing at trim boards. Flashing that was never installed correctly lets water run straight into the wall cavity instead of off the surface.
- Missing kick-out flashing. At the point where a roofline meets a sidewall, missing kick-out flashing sends a steady stream of runoff behind the siding every time it rains.
- Direct ground contact. Siding installed too close to soil, mulch, or a patio pulls up moisture constantly and rarely gets the chance to dry out.
- Failed paint or coatings. Cracked or peeling paint stops protecting the wood underneath, and once that protection is gone, the siding starts absorbing rain directly.
Assessing damaged siding starts with a simple visual walk-around, and cutting out rotted siding carefully avoids harming the boards right next to it. Assuming a fresh coat of paint will fix any of these rarely works, since paint alone cannot stop a moisture source that keeps feeding the problem underneath. Of these five entry points, siding leaking around window trim is the one homeowners notice first, since it usually shows up as a stain on an interior wall.
How Rot Doctor Finds Dry Rot Without Tearing Into Your Whole House
Finding hidden rot does not require removing every board on the wall. A proper siding inspection combines a visual walk-around with a couple of simple tools that reveal what the eye alone would miss. Our siding inspection service covers each of these steps and includes a written assessment of what we find.
- Walk the exterior first. Cracks, gaps, dirt buildup, and discoloration near corners, windows, and the bottom edge point to where to look closer.
- Probe suspect boards. A screwdriver or awl pressed gently into the wood tells you immediately whether it is solid or has already gone soft.
- Take moisture readings. A moisture meter measures water content inside the board, catching rot before any visible sign appears on the surface.
- Check behind the siding where possible. Inspecting the sheathing and house wrap for water damage or mold gives a clearer picture of what is happening inside, and damp insulation nearby is another key sign moisture has gotten in.
- Note the pattern, not just the spot. A cluster of small clues, like a slightly warped board near a downspout, is often more telling than one obvious soft spot. A single piece of trim can hide a surprising amount of damage.
These same fundamentals — the probe test, moisture readings, reading the pattern rather than one spot — apply to any exterior wood on your home, not just siding. Our guide to identifying dry rot covers the general diagnostic process in more depth.
Understanding where the water is coming from matters more than finding the rot itself, since fixing the board without addressing the source just restarts the clock. This inspection process is really the first half of how to fix dry rot siding correctly, since guessing at the cause leads to repeat repairs.
Ready to find out what's happening behind your walls? Contact Rot Doctor for a free inspection before assuming a patch job is enough.
What "Surgical" Dry Rot Siding Repair Actually Means
A surgical repair replaces only what is actually rotten and leaves the rest of the wall untouched. It is the opposite of a full tear-off, and it is usually the right call unless the damage has spread across a large section of wall.
All decayed wood should be removed to reach solid wood, no matter which category applies. For severe rot, the entire affected board should be replaced rather than patched, since leaving even a small amount of decayed material behind lets the problem restart. Very minor surface rot can sometimes be sanded, treated, and sealed instead of replaced, but anything soft below the surface needs to come out. A true surgical repair also integrates a new moisture barrier, seals every seam, and matches how the new boards attach to the framing with the existing siding profile so the patch does not stand out. For anything beyond a single board, a professional siding rot repair evaluation is worth the time before you commit to a plan.
Wood Siding vs. Fiber Cement Siding: How the Repair Changes
Not every material fails the same way, so the repair looks different depending on what is on your house. Wood siding is organic material that fungi can consume directly, while fiber cement siding is designed to withstand harsh weather conditions and does not rot on its own.
Cedar wood siding can last around 75 years with regular maintenance, and cypress wood siding can last over 100 years if it is cared for properly, but both still need protective coatings reapplied every few years to hold up that long. Fiber cement siding resists wood rot and insect damage by design, though moisture can still get trapped behind the panels through the same failed caulk and flashing issues that affect wood. The general approach to how to fix dry rot on wood siding still applies to the framing behind fiber cement, since both need the same drying and inspection before new material goes back on.
You can see real completed examples of both wood and fiber cement repairs on our website's project gallery, including cases where the framing behind fiber cement panels needed the same attention as a wood siding job.

What Does Dry Rot Siding Repair Cost in Bellevue?
Cost depends on how much of the wall is affected once it is opened up, and whether the damage reaches the framing behind the siding. A single board replaced with epoxy filler costs far less than a section that requires removing siding, checking the studs, and rebuilding the moisture barrier.
Material also plays a role, since wood and fiber cement carry different costs. A free, in-person estimate is the most reliable way to know your number, since photos rarely capture what is happening behind the surface. Reach out to Rot Doctor for a straightforward number instead of a guess.
Small Habits That Keep Dry Rot From Coming Back
A repaired section can rot again if the same conditions return, so a few ongoing habits go a long way toward protection. Keep a lookout for these signs each spring and fall, since understanding how to prevent siding rot is really just a matter of controlling moisture before it ever becomes a repair.
- Keep gutters clear. Gutters should be kept clean to direct water away from the house instead of letting it overflow onto the siding below.
- Trim shrubbery back. Keep plants at least three feet from the siding so they cannot trap moisture or dirt against the wall.
- Clean siding regularly. Removing organic debris a few times a year keeps moisture from sitting against the surface.
- Refresh protective coatings. Wood siding needs a new coat every few years to maintain its protection against the elements, and epoxy or paint should only go on when weather conditions are dry.
- Caulk gaps as soon as you spot them. Sealing gaps helps prevent water from working behind the boards, and ignoring a small gap for even one wet season can let it grow into a much bigger repair.
Regular maintenance can prevent the return of wood rot far more reliably than any one-time fix on its own.
Is Your Siding Leaking Around a Window Right Now?
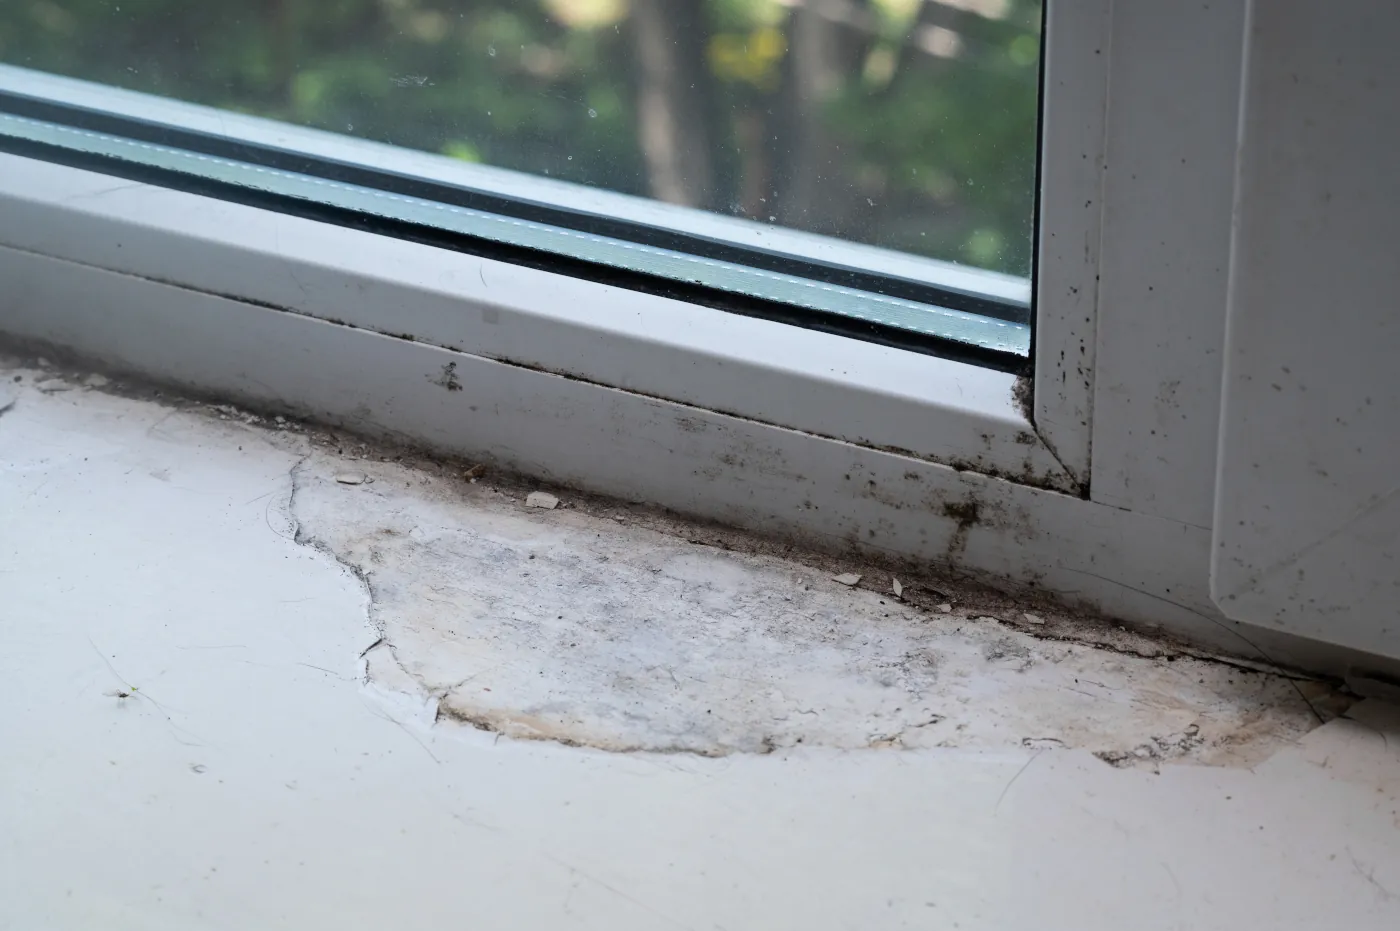
A window with siding leaking around it is one of the clearest early warning signs of dry rot, and it deserves attention before the trim gets involved. Water staining on interior walls near a window frame usually means the leak has been active for a while, and ignoring siding leaking around window trim rarely makes it stop.
For a more detailed walkthrough of window sill rot specifically — how to identify it, treat it, and prevent it from returning — see our window sill dry rot guide.
Start by checking the caulk line around the frame for cracks or gaps, then look at the trim board for soft spots. If the trim feels solid but the leak continues, the flashing behind it is the likely culprit and is worth having a professional check.
Conclusion
Hidden dry rot rarely stays hidden for long, and the board you can see is usually not the only one at risk. Dry rot siding repair works best when it starts with an honest inspection instead of a guess, since a lasting fix depends on finding the actual moisture source. If you have noticed a soft spot, a stain, or a window that leaks every time it rains, reach out to Rot Doctor for a free inspection and a clear plan for what your siding needs.
FAQs
How do I know if my siding has dry rot?
Look for soft or spongy spots, discoloration, cracked paint, or a musty smell near windows, corners, and the bottom edge of the wall. A basic siding inspection with a probe or moisture meter can confirm what is not visible from the outside.
Can you fix siding rot without removing all the siding?
Yes, in most cases only the affected boards and material directly behind them need to come out. A surgical repair targets the affected area and leaves the rest of the wall intact.
What does dry rot siding repair cost in Bellevue?
Cost depends on how many boards are affected and whether the rot reached the studs or sheathing behind the siding. A free, in-person estimate gives the most accurate number for your specific home.
How do I fix dry rot siding myself?
Small, shallow spots can sometimes be treated with wood hardener and epoxy filler, both available at most hardware stores. Knowing how to fix dry rot siding safely mostly comes down to catching it early, since anything reaching the stud, sheathing, or a larger section of wall is safer to have a contractor evaluate first.
How do I prevent siding rot from coming back?
Keep gutters clear, caulk gaps as soon as they appear, and keep shrubbery trimmed away from the wall. Recoating wood siding every few years and inspecting siding at least twice a year catches most problems while they are still small.

.svg%20fill.svg)




.svg)