
.png)


.svg)
If you have noticed peeling paint or a soft spot where your chimney meets the roofline, you are not alone. Chimney wood rot repair is one of the most common jobs we see in Bellevue, and it almost always traces back to the same handful of causes. A cracked cap or a gap in the flashing is rarely anyone's first thought when a ceiling stain appears, but it is one of the most common causes we find. Have you ever wondered why the chimney rots faster than the rest of the house? This guide breaks down the five specific failure points, how to tell surface damage from structural damage, and what an honest repair actually involves.
Why Do Chimneys Rot Faster Than the Rest of the House?
Chimneys rot faster because the chimney chase, the framed and sided structure around the flue, was often added after the main roof and walls went up. That means the flashing, siding, and roofline around it have more seams and more chances for water intrusion than a flat wall.
A chimney chase also has no slope of its own. Water that would normally run off a sloped roof instead pools or slows down right where the chimney meets the roof, giving moisture more time to soak into the wood underneath.
Homeowners often assume brick or masonry chimneys cannot rot, but the wood framing and siding around the flue usually fails first, long before the masonry shows any damage. Mortar joints on the brick portion can crack and let water seep in too, but in most Bellevue homes the wood chase needs attention first. In many cases, the flashing around that chase was never installed properly in the first place.
So why does this keep happening year after year? Usually because only the visible symptom gets addressed. Rot around a chase is also sometimes discovered during a roof replacement, when a crew pulls back the shingles and finds soft, damp wood underneath. Small leaks like this can go unnoticed for a long time before they reach the ceiling inside.
The 5 Failure Points That Cause Chimney Wood Rot
Rotted wood around chimney structures almost always traces back to one of these five specific spots. Knowing them helps you check your own roofline before it becomes a bigger repair.
- Missing cricket or diverter. A cricket, also called a diverter, is a small peaked structure built behind a chimney to split water and send it around the sides instead of pooling against the back wall.
- Nail-through siding. Fasteners driven straight through chimney siding create tiny entry points for water, especially near a seam.
- Failed chimney cap. A worn or poorly fitted cap lets rain run down the outside of the flue and into the chase, where it seeps into the framing.
- No kick-out flashing. Where the chimney roofline meets a sidewall, missing kick-out flashing sends runoff straight down behind the siding instead of into the gutters, one of the most common causes of a roof leaking around chimney sidewalls.
- Landscaping wicking moisture. Shrubs or mulch piled against the base keep the bottom few feet of siding damp far longer, and siding in direct contact with soil rarely gets a chance to dry.
Any one of these five failure points can create rotted wood around chimney siding on its own, but most Bellevue chimneys we inspect have at least two happening at once. Left alone, any of these can lead to further damage that threatens the structural integrity of the chase.
💡 Pro Tip: Check the north or shaded side of your chimney first. It dries out slower after rain and tends to show wood rot around chimney flashing before any other side does.
Not sure where to start? Reach out to Rot Doctor for a free chimney inspection before you climb a ladder yourself.

Is Chimney Rot Surface Damage or Structural?
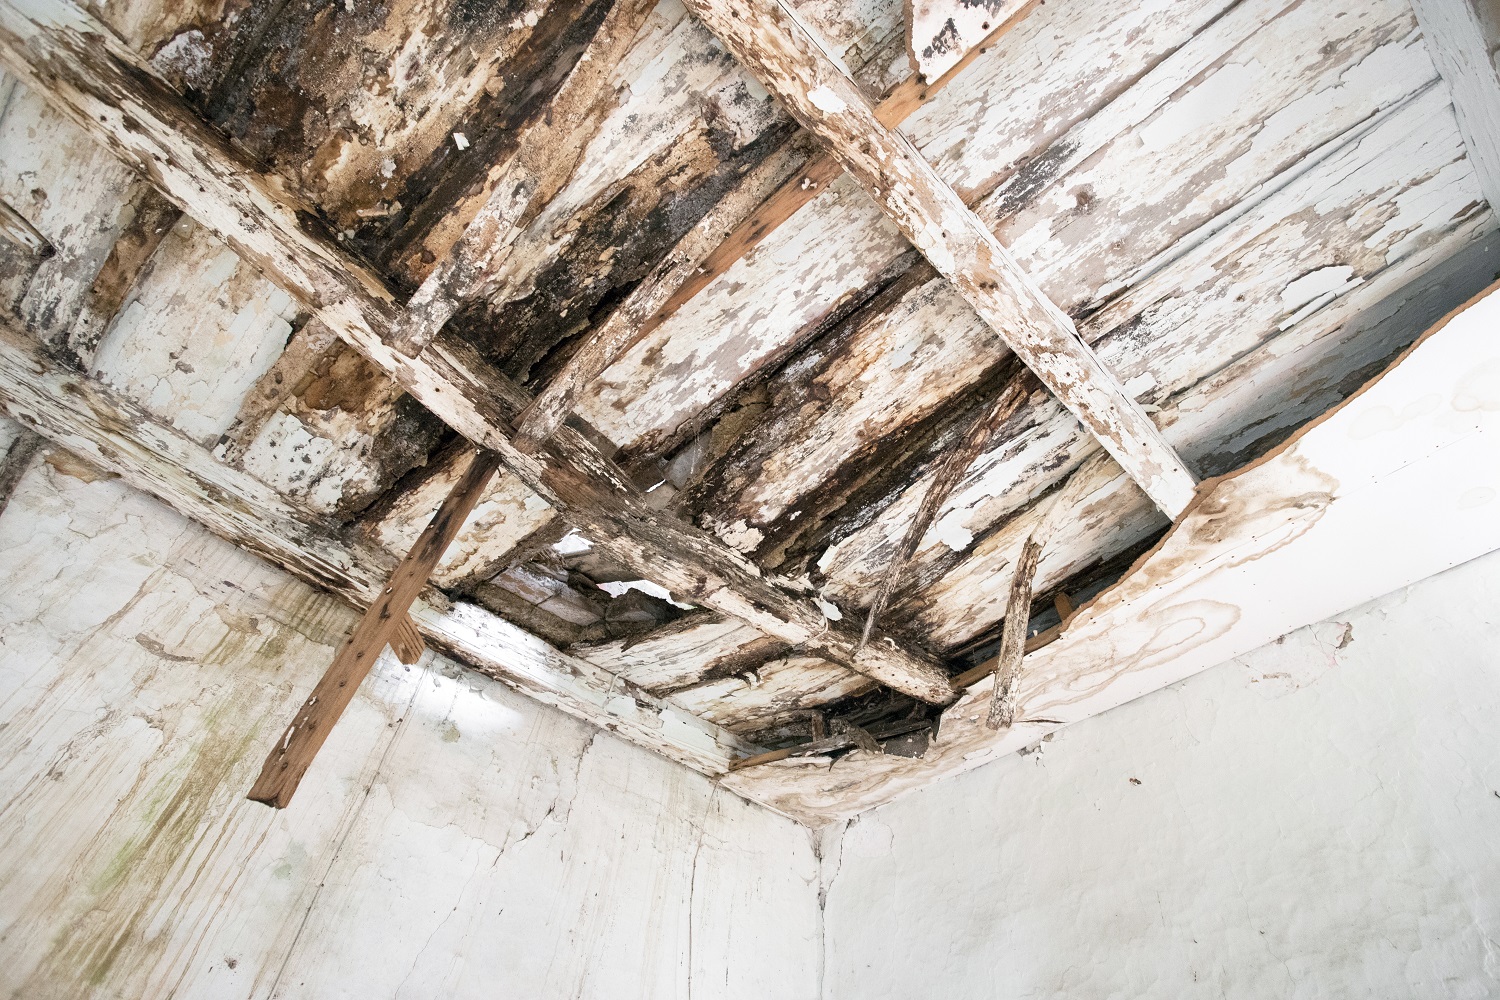
You can usually tell the difference with a probe test and a look at the paint. Surface rot feels firm under light pressure and stays limited to the outer layer, while structural rot lets a screwdriver sink in with little resistance.
- Compare paint condition top to bottom. Peeling paint near the cap but solid paint lower down often points to a leak at the top, while cracking near the base suggests a ground contact issue.
- Probe the siding at the corners. Corners and seams take on water first, so press a screwdriver into the wood at a low angle near each seam.
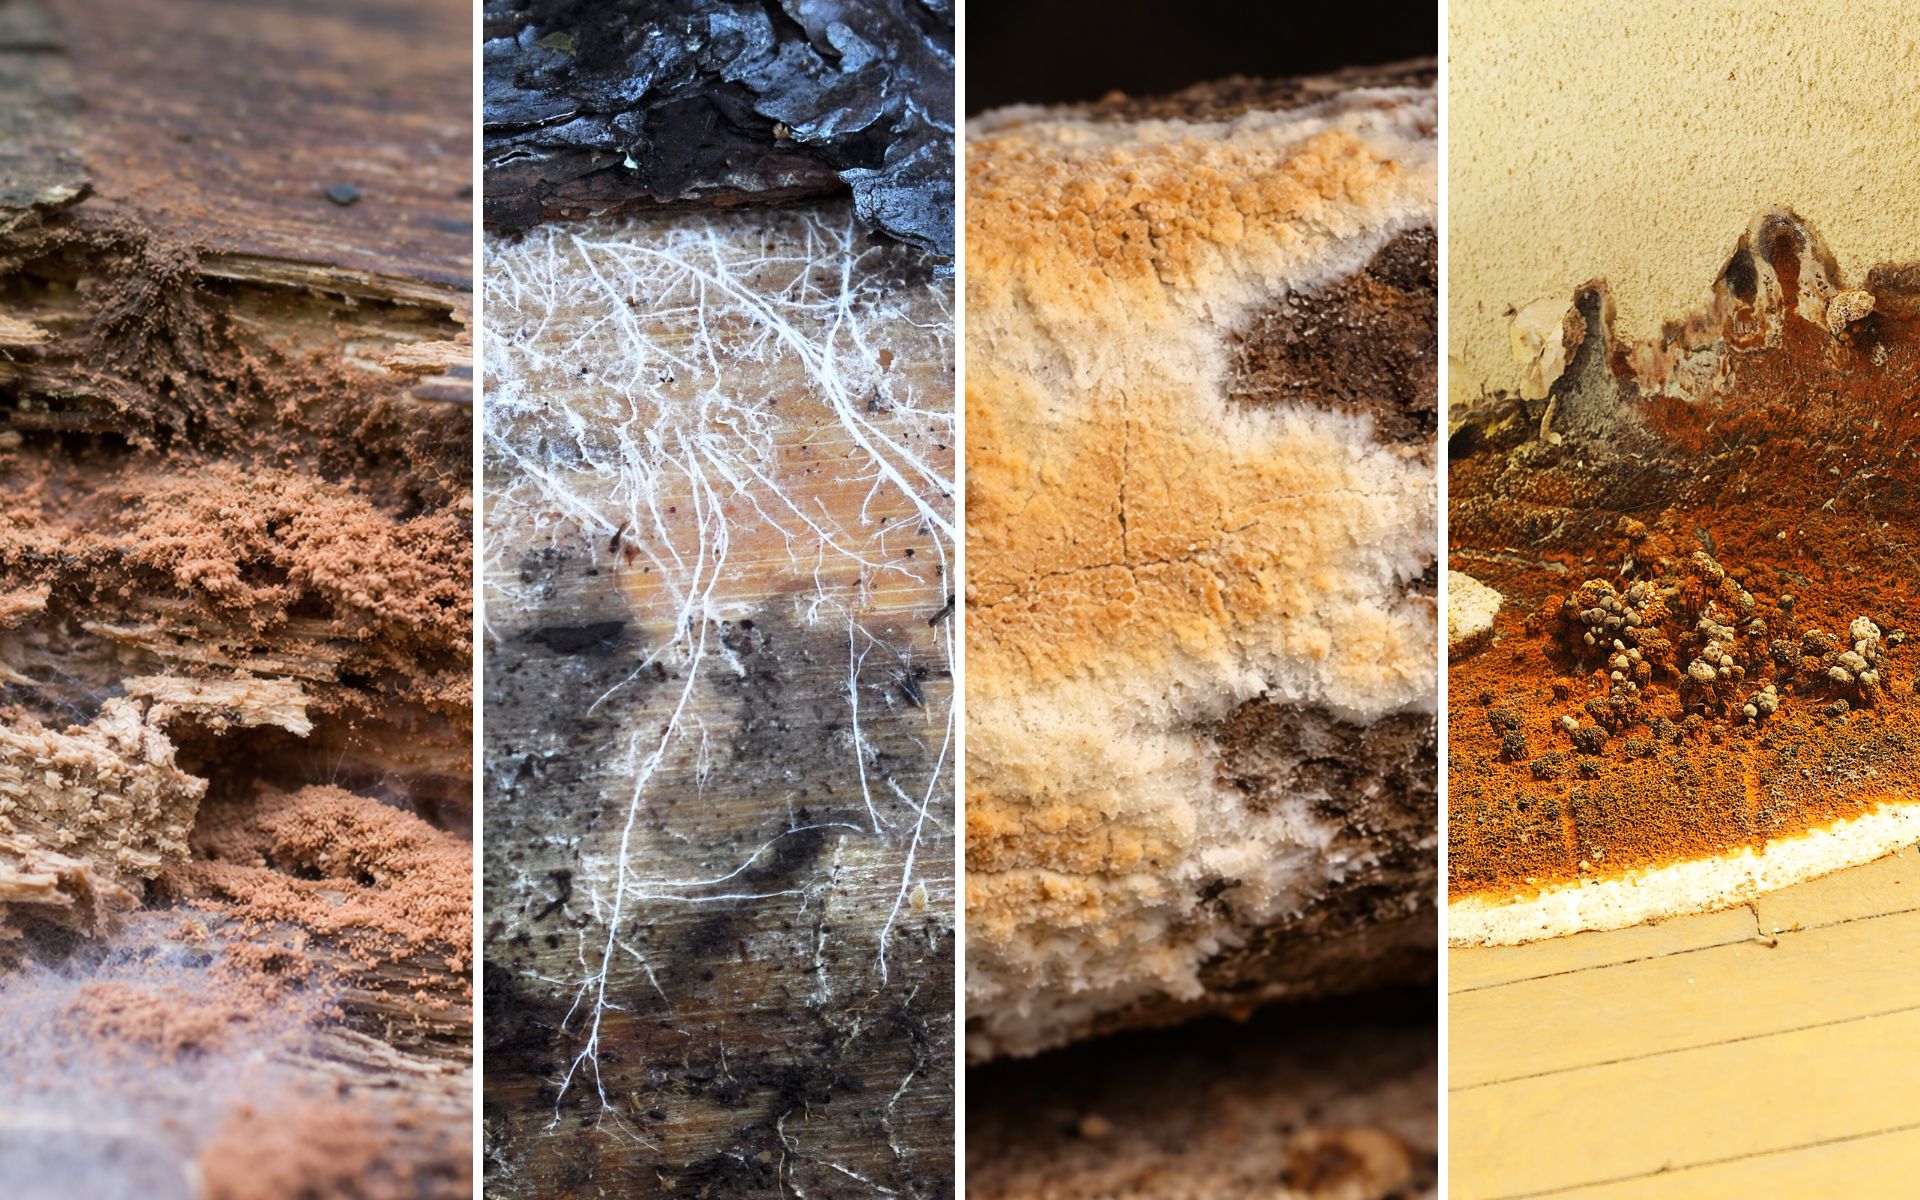
- Check the attic if accessible. Water staining, mold, or damp insulation near the chase is a strong sign the rot has reached the framing, including the plywood sheathing.
- Look for a soft or spongy feel across a wide area. Structural damage usually spans more than one board, often starting along the edge where the chase meets the roofline.
If the wood feels solid except a small patch near the top, you are likely dealing with a surface issue a smaller repair can resolve. Widespread softness or damp framing usually points toward structural wood rot repair rather than a simple patch.
How do you know for sure without opening the wall? A moisture meter reading combined with the probe test gives a clearer picture than a visual check alone. For rot in structural framing beyond the chimney chase itself, see our signs of structural rot guide for what to look for inside walls and floor systems. If both point toward damp wood across a wide area, have a professional confirm the extent before deciding on a repair rotted chimney plan.
What Chimney Wood Rot Repair Actually Involves
Repairing rotted wood siding on a chimney chase follows the same core process used anywhere else on the house, with a few chimney-specific steps added. All decayed wood should be removed to reach solid wood before anything new goes back on. Inspecting the full chase first is the only reliable way to know what needs to come out.
- Assess the full chase, not just the visible spot. Soft spots and discoloration often extend further than what shows from the ground.
- Replace the chimney cap if it has failed. Chimney cap replacement is often the single biggest fix, since a cap that is properly installed stops water from reaching the chase.
- Rebuild or add proper flashing. Chimney flashing repair means integrating new step flashing, counter flashing, and a cricket where one is missing, ideally using copper flashing. How the flashing is laid at each seam determines whether water sheds away cleanly.
- Cut out and replace rotted siding. For siding reveals over five inches, a circular saw makes a clean cut without damaging surrounding boards.
- Prime new material on all sides. Primer goes on every side of the new siding board, not just the face, before installation.
- Repair framing if the rot reached the studs. For severe rot, the affected section should be replaced with new, properly rated lumber rather than patched.
- Seal every joint and seam. Caulk should be used where appropriate to prevent water intrusion at trim, corners, and flashing overlaps.
Minor localized rot can often be repaired with epoxy fillers instead of full replacement. Putting a new cap on without fixing the flashing, or the reverse, rarely solves the problem for long. Materials near the flue also need to be heat resistant as well as weather resistant, one reason copper flashing holds up longer than cheaper alternatives.
Chimney Cap Replacement vs. Chimney Flashing Repair: Which Fixes What?
These two repairs solve different problems, and most chimney rot jobs need both. A chimney cap replacement stops water from entering at the top, while chimney flashing repair stops water from getting behind the siding where the chimney meets the roof. Skipping either usually means rotted wood around chimney siding shows up again within a season or two.
Choosing only one repair when both are needed is one of the most common issues we see. A new cap will not help if the flashing below it is still letting water in, and new flashing will not matter if the cap keeps letting rain past it. Crews who repair siding around a chase should always check both, since water leaks rarely come from just one source. That is why the Rot Doctor team checks both together during an inspection instead of quoting just one fix.

Signs of Wood Rot Around Your Chimney
Most homeowners notice a problem long before they realize what caused it. These are the signs worth checking for.
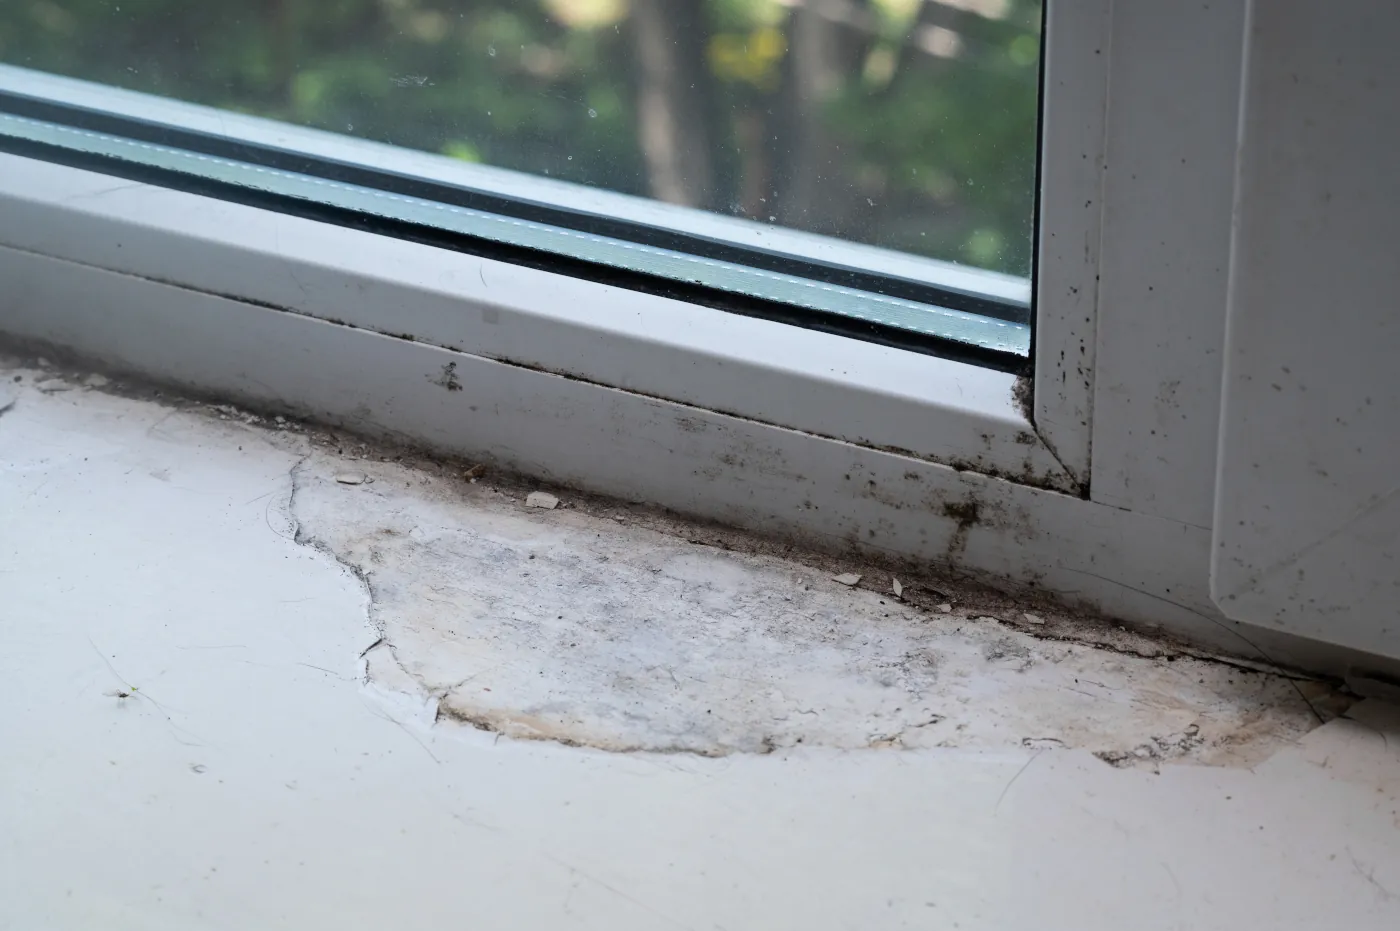
- Peeling paint concentrated near the chimney. This often signals moisture trapped just behind the surface.
- A roof leaking around chimney flashing during heavy rain. Water stains on the ceiling nearby are a strong signal.
- Soft or spongy siding near the base or top. Press gently. If it gives easily, moisture has already reached the wood.
- Visible gaps or cracked caulking at seams. These let water in even without heavy rain.
- A musty smell in the attic near the flue. Condensation and trapped moisture often create this smell before visible damage appears.
If you are dealing with a roof leaking around chimney flashing right now, addressing the leak matters more than the cosmetic repair, since stopping the moisture source is critical for a long-lasting fix. Painting over a stained ceiling or peeling exterior siding without finding where the water gets in only hides the water damage. A working fireplace depends on more than a clear flue; the framing supporting the chase needs to stay dry too.
If your roof is leaking around the chimney right now, contact Rot Doctor for a free inspection before the next rain — the longer the leak runs, the more framing it reaches.
How Much Does Chimney Rot Repair Cost in Bellevue?
Cost depends mostly on how many of the five failure points are involved and whether the damage reached the framing. A repair rotted chimney job limited to a cap replacement or a section of siding typically costs far less than one involving flashing, siding, and structural framing all at once.
As a general guide, minor repairs limited to a single area, such as a chimney cap replacement or a small section of siding, generally run around $200 to $600. Once rot reaches the framing or spans a larger section, costs typically climb to $1,000 to $4,000 or more, depending on the extent of damage and access needed. These figures are general industry ranges and can vary by home, materials, and local labor rates.
Location on the roof also plays a role. A repair on a tall, steep section may need extra access equipment compared to a low, easily reached chase, which can affect the final number.
Getting a free, in-person estimate is the most accurate way to know your number, since photos rarely show what is happening behind the siding. You can browse real completed jobs in our chimney and structural repair projects to see what a full repair looks like.
Conclusion
Chimney rot rarely announces itself all at once. The five failure points behind it tend to repeat on the same roofline year after year until the actual cause gets fixed. Chimney wood rot repair works best when it addresses that root cause instead of just repainting the surface. If you have noticed peeling paint or a soft board, a quick inspection is the easiest way to settle on the right repair rotted chimney plan before the damage spreads further.
FAQs
Can you repair chimney rot without scaffolding?
In many cases, yes, especially for lower sections of the chase or repairs reachable by ladder or roof access. Repairs higher up or involving full siding replacement may require scaffolding for safety.
How much does chimney rot repair cost?
Cost depends on how many failure points are involved and whether the framing behind the siding is affected. A free, in-person inspection gives the most accurate number for your chimney.
What is a roofing cricket and why does my chimney need one?
A roofing cricket, also called a diverter, is a small peaked structure built behind a wide chimney to split rainwater around the sides. Without one, water pools against the back and increases the chance of wood rot around chimney flashing.
Why does my chimney keep rotting?
Chimneys often rot repeatedly because only one failure point gets fixed while the others are left alone, such as replacing siding without fixing failed flashing. A full inspection that checks the cap, flashing, siding, and framing together prevents this pattern.
How to fix roof leak around chimney flashing?
Start by checking the flashing, chimney cap, and any visible gaps in the caulking around the base. If you are unsure how to fix roof leak around chimney flashing safely, a professional inspection is the safer next step.

.svg%20fill.svg)




.svg)